SeqWare Portal User Guide
Overview
The SeqWare Portal is a web application designed to allow users to interact with the SeqWare MetaDB and Pipeline systems. Using the Portal a user can:
- create studies, experiments, and samples in the MetaDB
- upload data such as fastq files to the VM and associate that data with particular samples in the MetaDB
- find the list of available workflows and the parameters they accept
- schedule a HelloWorld workflow and monitor its progress
- generate a report on the outputs of your workflows
- download files produced by a workflow
- debug workflows by downloading stdout and stderr for your workflows
Warning: The SeqWare Portal is not currently in production use and is unmaintained in favour of the command-line tools. We are currently working on a replacement so use at your own risk.
Note:These goals are very similar to the command line-powered [User Tutorial](/docs/3-getting-started/user-tutorial/) and that is on purpose. We designed the Portal to provide the same functionality as the command line tools in order to make SeqWare more accessible to workflow users who do not want to use command line tools.
Setting Up Metadata
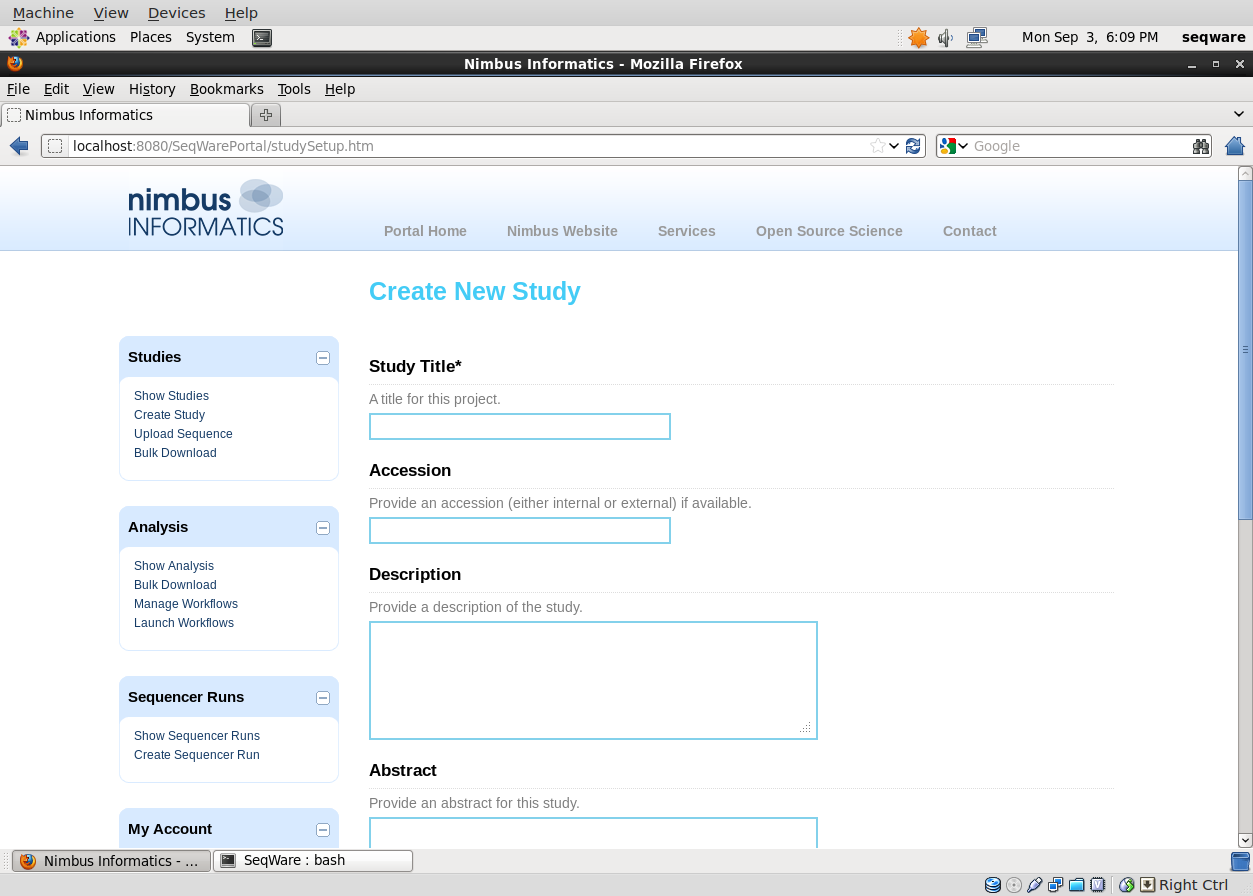
First, login to the portal, the URL is http://localhost:8080/SeqWarePortal and you will need to use the browser inside the VM to access this. The default username is admin@admin.com and the default password is admin. Feel free to change your password in the web app.
Tip:You could setup the VM so it gets a “real” IP address on your network, in which case you could access both the Portal and Web Service via any computer on your network. Check out the (documentation)[https://www.virtualbox.org/] on VirtualBox for information on setting up an accessible IP address for your running VM.
In the following screenshots you see the process that allows you to create these entities through the web application. When you first login you will see your studies (of which you have none). First, create a study which can be though of as a project that can have many distinct experimental designs:
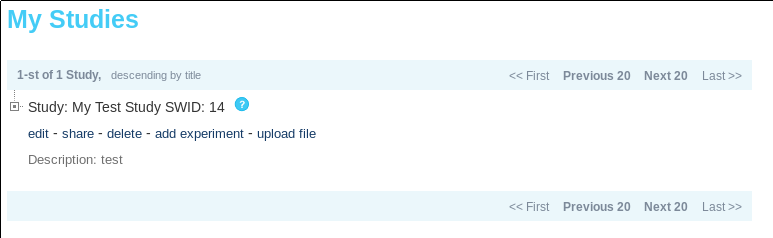
You will then see your new study which includes a link to add an experiment. An experiment encapsulates a particular experimental design, for example 2x50 sequencing on the Illumina platform. If you then did another experiment with a 2x250 read structure on the same platform that would be considered a novel experimental design.
Once you click on the “add experiment” link you will then be able to define the NGS platform used and the nature of the experimental design. Of note is the “Spot Decoding String” which allows you to document the structure of the reads.
The next step is to create one or more samples and associate them with this new experiment. Under the experiment you just added you will see a link for “add sample”, click it and populate the sample information.
At this point you will see your complete study/experiment/sample hierarchy in the “My Studies” section.
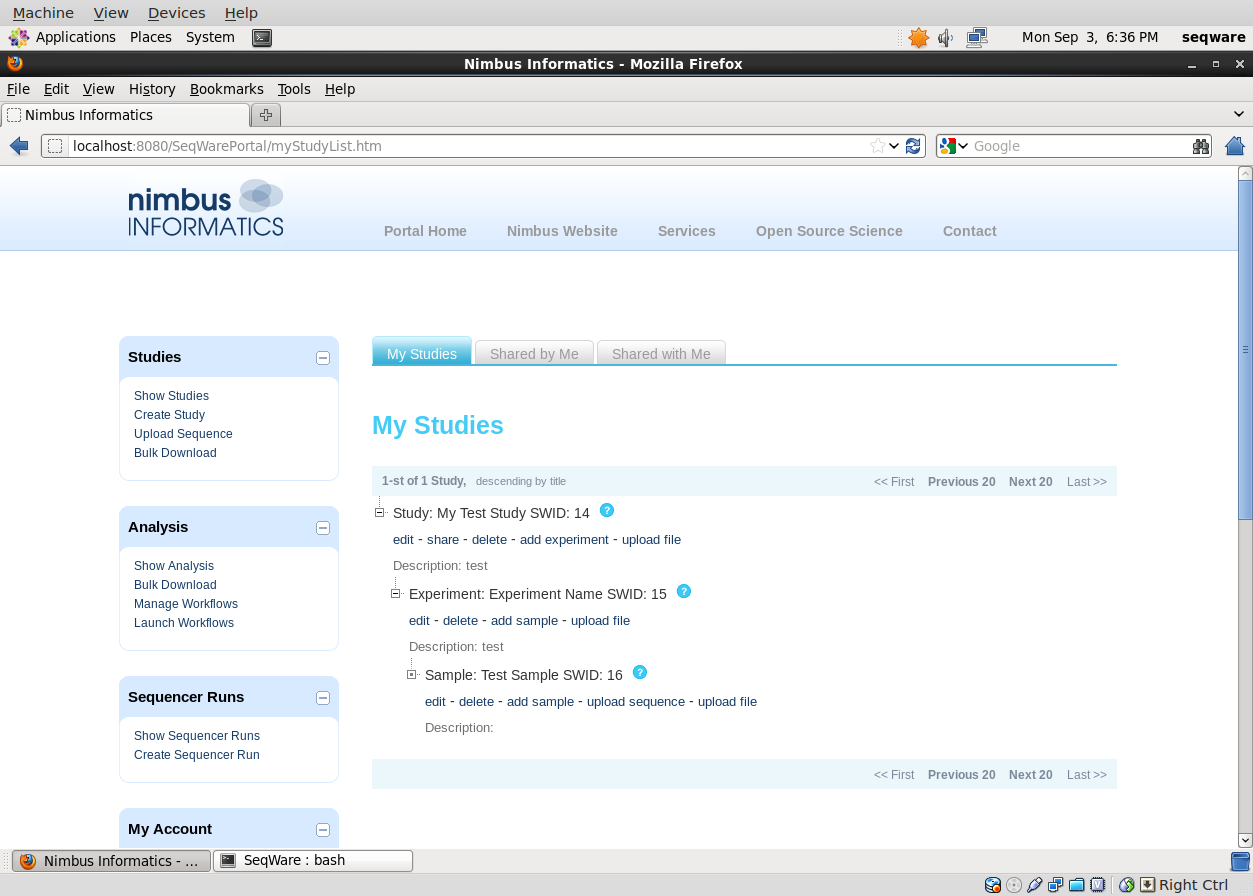
Tip: Notice the “SWID: 14” next to “My Test Study”. The other items in the hierarchy have an SWID as well. This is common for every item in the MetaDB, everything has a SWID aka accession. When you use command line tools they will often take a “parent accession” to attach output to and this is referring to what you see as SWID in the Portal.
Tip: You can also track sequencer runs and associate samples with the particular “lanes” on the flowcell (or equivalent on the particular sequencing platform). This is not covered here but will be in the SeqWare Portal guide. Suffice it to say, this lets you use Portal as a light-weight LIMS system for tracking both studies/experiments/sample and sequencer runs/lanes and how they relate to each other.
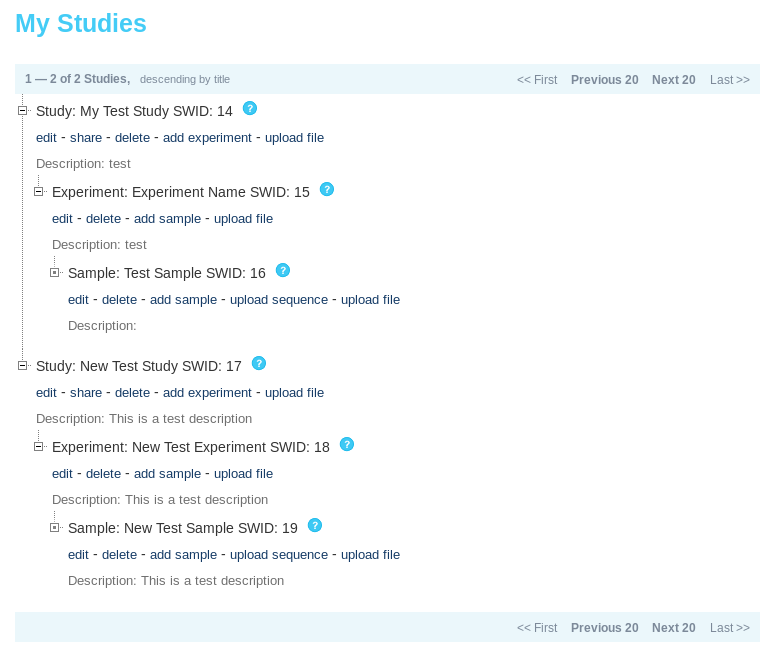
At this point you should have a nice study/experiment/sample hierarchy. You can, of course, add multiple samples per experiment and multiple experiments per study. For each of the samples you can now upload one or more files. You will need the SWID from the sample creation above for this step (or visible in the Portal).
Uploading Data
The first step in uploading a file and associating with a sample is to identify the sample’s SWID. The easiest way to do this is to use the Portal web application to navigate through the Study/Experiment/Sample tree to the sample you want to upload text for and to note its associated SWID. Once you decide on the “parent” sample to attach the file to you then need to know the destination location to put your file in. This is either a directory (which defaults to /datastore) or a shared filesystem over NFS if you have connected your VM instance to a cluster. The default /datastore will work fine on both the VM and AMI.
Once you have these two pieces of information (destination path “/datastore/” and the SWID) you can then use either the Portal or the command line utilities to put your files into the right place and associate them with the correct sample.
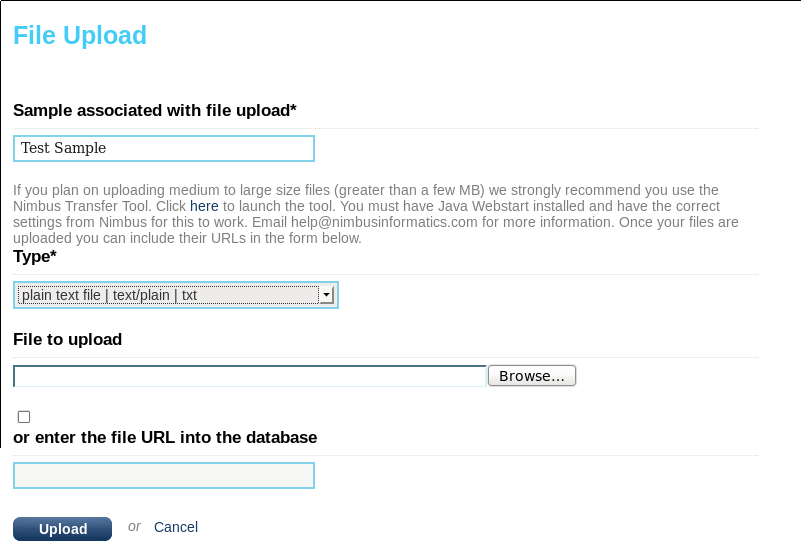
First, create your text document that you want to associate with a sample (we are using a text document here since the sample HelloWorld workflow takes this as an input but typically you would upload Fastq files for a sample). I created a document called simple.txt that just has some random text in it. You can do that in the Desktop directory of the SeqWare user on this VM.
Now, navigate to the Study you created above, pick a sample, and then click “upload file”. You can then either give the complete path to the text file (“enter the file URL into the database”) or you can use the “File to upload” browser to upload the simple.txt file. If possible you should enter a path or URL (http://server/file/path or /directory/file) since this will not result in duplicate data or long uploads. If you do this then the file path should be accessible to the user running the examples, in this tutorial it is the “seqware” user. The third option (using the Nimbus Transfer Tool) requires admin configuration and only works when SeqWare is deployed on the Amazon Cloud so we will skip it here. Click upload when you are done.
You can verify the upload has been successful by browsing “My Studies” section. You should be able to re-download the file. If not, you referenced a file that was not in a location viewable by the web server user (“tomcat”).
Tip:The timeout for the Portal web application is set pretty low. If you have problems uploading files, for example, ensure your login has not expired. We recommend using command line tools for uploading large files.
Launching Workflows
ToDo:Need to fill in this section…
Monitoring Workflows
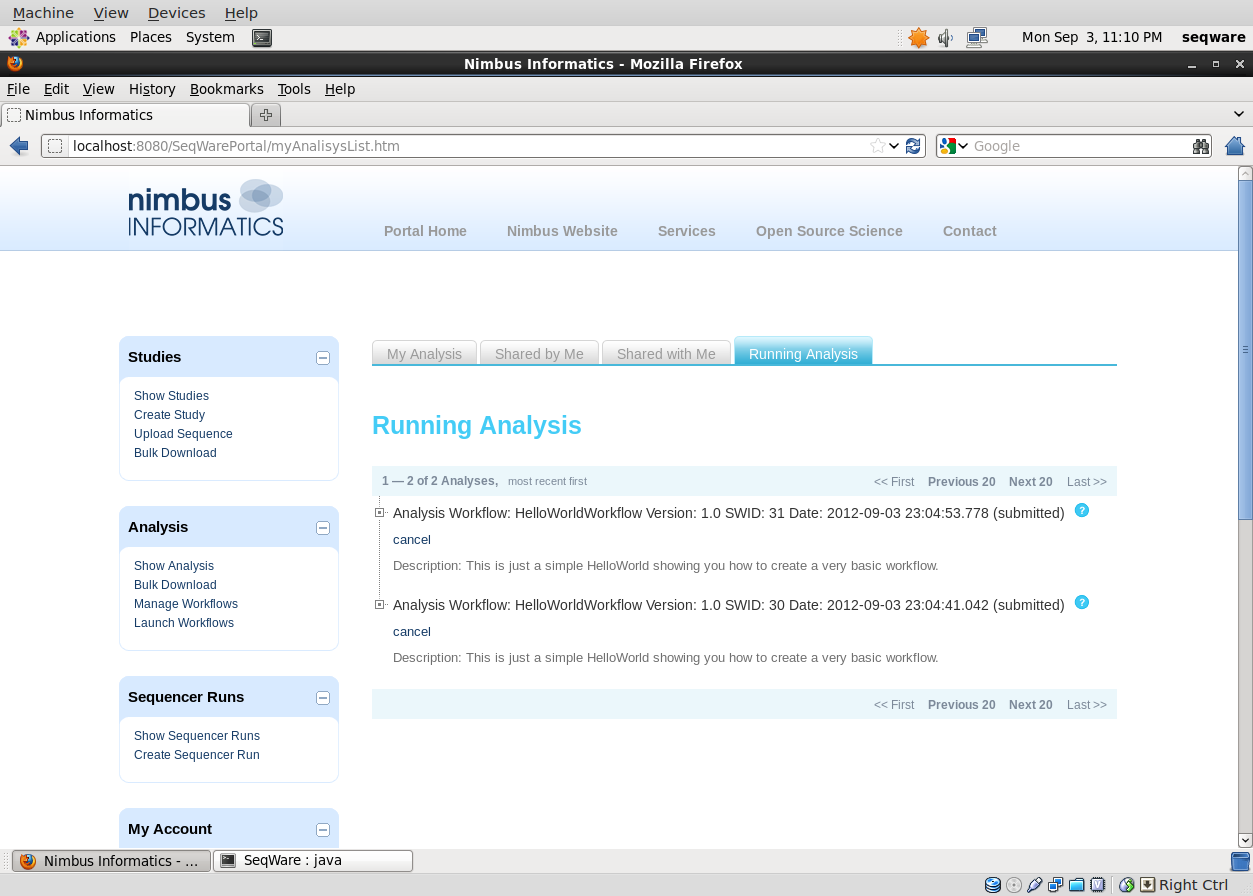
Once submitted, you can use the Portal to list the number of submitted, running, and failed workflows. Log into the Portal and click on the “Show Analysis” link under the Analysis panel. You can then click on the tab for “Running Analysis” to see what is submitted/running/failed.
ToDo:Need to fill in this section…
Retrieving Results
ToDo:Need to fill in this section…